Configuring a FHIR Shared Resource
Before creating processes involving the FHIR palette, you must configure a FHIR shared resource.
You can specify the location of the server with which you want to communicate and exchange information when configuring the FHIR shared resource. This shared resource is typically a front-end system that enables you to access a trading partner's database. For example: Requesting a patient resource from a healthcare organization.
Step 1 - Creating a new FHIR Shared Resource
- Access the FHIR Configuration - create a new FHIR Shared Resource wizard by going to
.
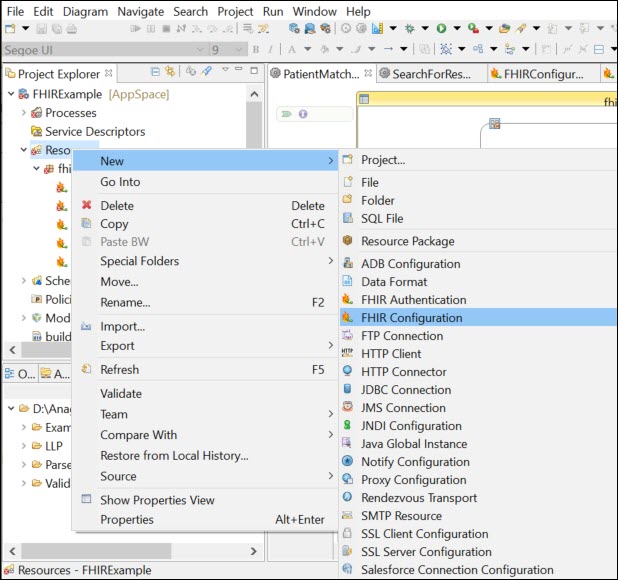
- In the
Creates a new FHIR Shared Resource dialog box, enter the identifying information about the shared resource:
Field Literal Value/Module Property/Process Property? Description Resource Folder No Path to the resource folder. Enter a path or use the Browse button to navigate to a folder by using File Explorer.
Package No Package name to be used in the resource folder. Enter a name or use the Browse button to navigate to a file by using File Explorer.
Resource Name No Name of the resource 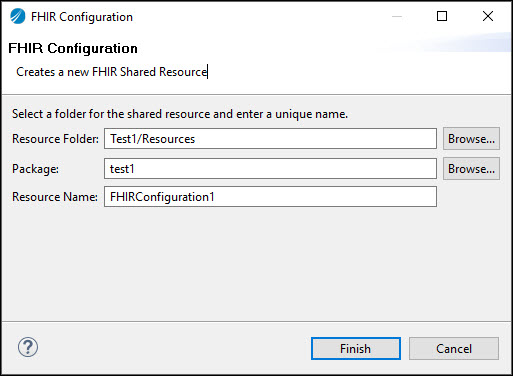
- To create the shared resource, click Finish. The FHIR Configuration page opens.
Step 2 - Configuring a new FHIR Shared Resource
On the FHIR Configuration page, enter the following configuration information about the shared resource:
| Field | Literal Value/Module Property/Process Property? | Description |
|---|---|---|
| Package | No | Populated from Creates a new FHIR Shared Resource |
| Name | Populated from Creates a new FHIR Shared Resource | |
| Reference Link | Displays existing references to the shared resource | |
| Description | Optional. Descriptive text about the shared resource. | |
| Server Version | Version of the FHIR standard.
Supported versions are STU3, and R4. |
|
| URL | Yes | URL of the FHIR server |
|
Select Default Value Set To select the Default Value Set for the URL property, click
|
||
| Clear Value
To clear the current URL from the URL display, click
|
||
| Socket Timeout (in ms) | No | Amount of time in milliseconds from when the socket connects until the connection breaks. |
| Activate Basic Authorization | No | Select the checkbox to use basic authorization. |
| UserName | Yes |
Username for basic authorization. To select the Default Value Set for the Username, click
|
| Password | Yes |
Password for basic authorization. To select the Default Value Set for the Password, click
|
| Download XML Capability Statement | No | Click this button to download the capability statement in XML format.
You can confirm the validity of the server URL and the operations supported on the server from this capability statement. |
| Download JSON Capability Statement | No | Click this button to download the capability statement in JSON format.
You can confirm the validity of the server URL and the operations supported on the server from this capability statement. |
 :
:
