Creating a Project
The first task using the plug-in is creating a project. After creating a project, add resources and processes.
An Eclipse project is an application module configured for TIBCO ActiveMatrix BusinessWorks. An application module is the smallest unit of resources, which is named, versioned, and packaged as part of an application.
When you import an existing project to the current workspace of TIBCO Business Studio for BusinessWorks, if you click Select root directory in the Import Projects dialog, you must select the Copy projects into workspace checkbox.
- Procedure
-
To start TIBCO Business Studio for BusinessWorks perform the steps for the platforms that are applicable to your plug-in.
All the platforms might not be applicable to your plug-in. For the list of platforms supported by your plug-in, see the Readme file.
Platform Step Microsoft Windows Click Start > All Programs > TIBCO > TIBCO_HOME > TIBCO Business Studio <version> > Studio for Designers Linux or macOS Run the TIBCO Business Studio for BusinessWorks executable file located in the TIBCO_HOME/studio/<version>/eclipse directory. Note: On macOS, to load the environment variables in the launchd.conf file correctly, ensure that the shell is bash when you start TIBCO Business Studio on a command line. - From the menu, click to open the BusinessWorks Resource wizard.
- In the Select a wizard dialog, click BusinessWorks Application Module and click Next to open the New BusinessWorks Application Module wizard.
- In the
Project dialog, configure the project that you want to create:
- In the Project name field, enter a project name.
- By default, the created project is located in the workspace current in use. If you do not want to use the default location for the project, clear the Use default location checkbox and click Browse to select a new location.
- Use the default version of the application module, or enter a new version in the Version field.
- Keep the Create empty process and Create Application checkboxes selected to automatically create an empty process and an application when creating the project.
- Select the
Use Java configuration checkbox if you want to create a Java module.
A Java module provides the Java tooling capabilities.
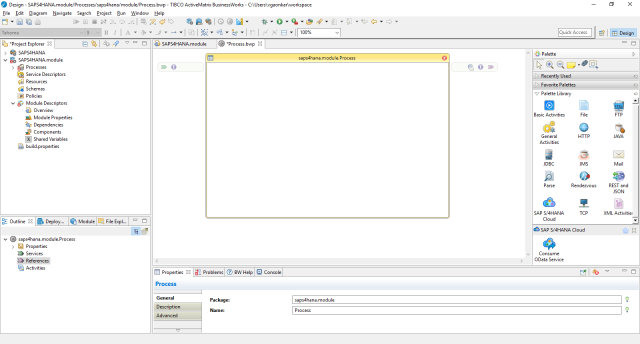
- Click Finish to create the project.