Creating a Flow Attached to a REST Trigger
When creating a flow with a REST (Receive HTTP Message) trigger, you can enter the schema in the Configure trigger dialog during flow creation. Also, you can use a Swagger 2.0 or OpenAPI 3.0 specification file that you have saved either in TIBCO Cloud™ Integration - API Modeler or on your local machine.
For more details on using a specification file, see the Using an OpenAPI Specification.
/data as the resource path. So, the combination of the operation and its resource path must be unique within an app.
You can create a REST flow by entering a JSON schema or dragging an API specification JSON file. See the Using an OpenAPI Specification section about using a specification file.
To create a REST flow by entering the schema:
- Procedure
- Click an app name on the Apps page.
- Click Create. TheAdd triggers and flows dialog opens. Flow under Create New is selected by default.
- Enter a name for the flow in the Name text box. Flow names within an app must be unique.
- Optionally, enter a brief description of the flow in the Description text box.
- Click Create. A flow with a specified name is created.
- Now, click Triggers palette. The triggers palette opens with all the available triggers listed.
- Drag the Receive HTTP Message to the Triggers area on the left. The trigger configuration dialog opens.
- Select the REST operation under the Method that you want to implement by clicking it.
Note: Two REST triggers cannot have an identical port, path, and method combination. Each REST trigger needs to differ from the other for the same flow with either a unique port, path, or operation.
- Enter a resource path in the Resource Path text box.
- Enter the JSON schema or JSON sample data for the operation in the Response Schema text box. This is the schema for both input and output.
- Click Continue.
- Select one of the following options:
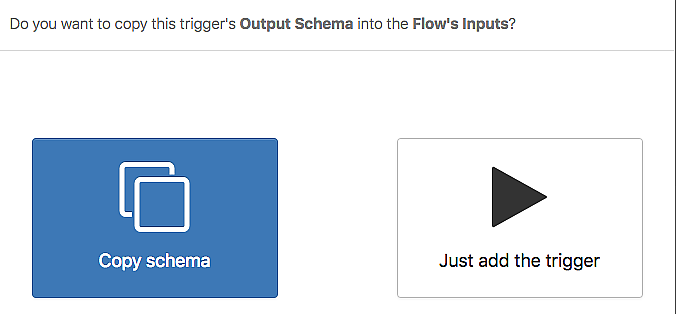
If you select Copy Schema, the schema that you entered in the step 10 above automatically gets copied or displayed in a tree format to the following locations when the trigger gets added:
- Trigger output, on the Map to Flow Inputs tab of the trigger
- Flow input, on the Input Settings tab of the Flow Inputs & Outputs accordion tab.
- Trigger reply (if the trigger has a reply), in the Reply Settings of the trigger.
For details on configuration parameters, see the REST Trigger section.
If you select Just add the trigger, a REST trigger is added to the flow without any configuration. You can configure this REST trigger later by clicking the trigger from the app details page. Any changes made to the trigger must be saved by clicking Save.
The flow page opens.
- Map the trigger output to the flow input.
- Open the trigger configuration dialog by clicking the trigger:
- Open the Map to Flow Inputs tab.
- Map the elements under Flow inputs to their corresponding elements under Available data one at a time.
- Map the flow output to the trigger reply as follows:
- In the trigger configuration dialog, click the Map from Flow Outputs tab.
- Map the elements under Trigger reply to their corresponding elements under Available data.
- Close the dialog.
- Click Save to save your changes.