Uploading Supplemental Custom Guidelines, Maps, and other Files for HL7 and FHIR
HL7 users specify validation profiles, guidelines, maps, and other files when validating or translating data. FHIR users specify Mapping rule and structure map files for FHIR Mapping Language of FHIR Transformation activity.
In order for these files to be accessible when building
TIBCO Cloud™ Integration processes involving the
ActiveMatrix BusinessWorks Plug-in for HL7 with FHIR for HL7, the files must be uploaded to
TIBCO Cloud Integration as supplemental files and must be contained in a zip file called
supplement_hl7.zip. For FHIR, the files must be uploaded to
TIBCO Cloud Integration as supplemental files and must be contained in a zip file called
supplement_fhir.zip.
To upload the supplement zip file, all users can use either the TIBCO Cloud™ - Command Line Interface or the TIBCO Cloud Integration UI.
For HL7, all customers must push the
supplement_hl7.zip file and for FHIR, all customers must push the
supplement_fhir.zip file to
TIBCO Cloud Integration by using the
TIBCO Cloud - Command Line Interface. Without it,
ActiveMatrix BusinessWorks Plug-in for HL7 with FHIR processes cannot run on
TIBCO Cloud Integration.
If you have no supplemental custom files to upload, create and upload the
supplement_hl7.zip file or the
supplement_fhir.zip file that contains dummy files.
Preparing Supplemental Files for HL7
Perform the following procedure to prepare supplemental files for uploading to TIBCO Cloud Integration:
Before you begin
- Supplemental files must be created with UNIX line termination format, not the Windows line termination format.
- If there is an Instream base path set in the supplemental files, it must be edited to point to the following baseroot:
/opt/tibco/fs.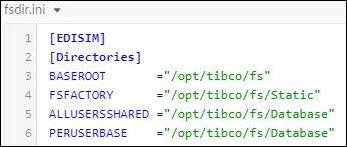
- Create a folder (in this example, the folder is called
Supplement). Within that folder, create a
binfolder and aDatabasefolder.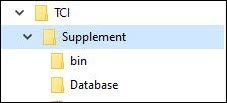
- In the
/binfolder, add supplemental files of type.apfor.ini.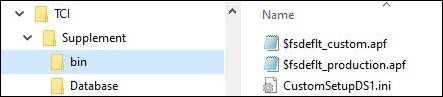
- In the
/Databasefolder, add supplemental files of type.xsd,.std,or.map.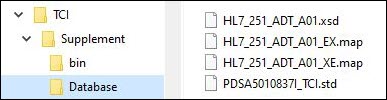
- Create a
.zipfile namedsupplement_hl7.zipthat contains the contents of both the/binand/Databasefolders.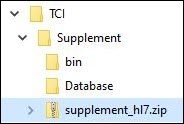
Uploading Supplemental Files for HL7
Perform any one of the following procedures to upload supplemental files to TIBCO Cloud Integration:
By using the TIBCO Cloud - CLI
- Create an empty folder (in this example, the folder is called
_Uploaded_Supplemental Files).
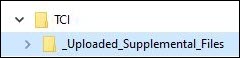
- Copy the
supplement_hl7.zipfile to the empty folder.
- Ensure that TIBCO Cloud - Command Line Interface is installed in this folder. If not, install the TIBCO Cloud - CLI. For more information, see Installing the TIBCO Cloud™ - Command Line Interface.
- From the new folder, run the following command:
./tibcli bwplugin supplement hl7 - Enter your
TIBCO Cloud Integration login and password.
Note: Note: Only Admin users are allowed to upload supplemental files within an organization.
A message window indicating a successful login is displayed.
- The files are uploaded to
TIBCO Cloud Integration and unzipped. A success message is displayed.
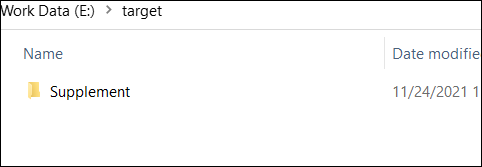
 Note: Note: Supplemental files are extracted to
/opt/tibco/fs.
By using TIBCO Cloud Integration UI
- Go to the Environment and Tools page.
- In the
Connector Management & Extensions section, upload the
supplement_hl7.zipfile as a supplement. Select hl7 under the BusinessWorks section.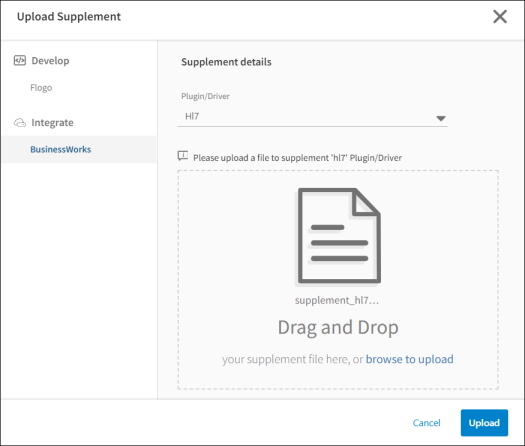
Using Supplemental Files for HL7
Before attempting to access new supplemental files on TIBCO Cloud Integration, re-deploy the application. For more information, see the "Pushing an Application to the Cloud" topic in the TIBCO Business Studio™ - Cloud Edition documentation.
Preparing Supplemental Files for FHIR
Perform the following procedure to prepare supplemental files for uploading to TIBCO Cloud Integration:
Before you begin
- Supplemental files must be created with UNIX line termination format, not Windows line termination format.
- If there is a base path set in the supplemental files, it must be edited to point to the following baseroot:
/opt/tibco/fs.
- Create a folder (in this example, the folder is called
Supplement).
- Depending on the mapping option that you select, add files to the
Supplement folder.
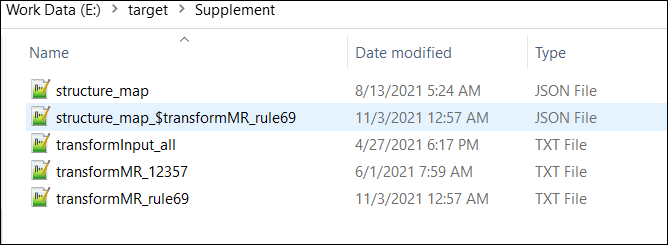
- Create a .zip file named
supplement_fhir.zip that contains the content of the
Supplement folder.

Uploading Supplemental Files for FHIR
Perform any one of the following procedures to upload supplemental files to TIBCO Cloud Integration:
By using the TIBCO Cloud - CLI
- Create an empty folder (in this example, the folder is called Supplement).
- Copy the
supplement_fhir.zipfile to the empty folder.
- Ensure that TIBCO Cloud - CLI is installed in this folder. If not, install the TIBCO Cloud - CLI. For more information, see Installing the TIBCO Cloud™ - Command Line Interface.
- From the new folder, run the following command:
./tibcli bwplugin supplement FHIR.client.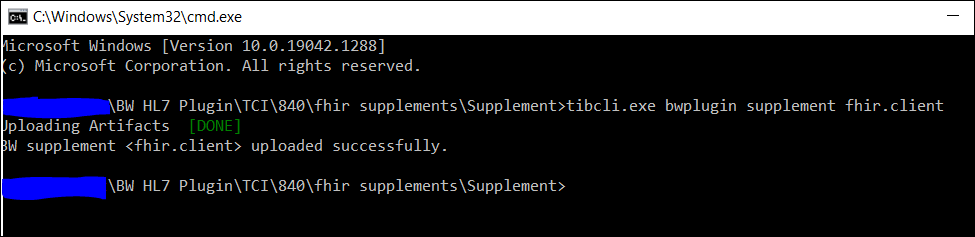
- Enter your
TIBCO Cloud Integration login and password.
Note: Note: Only Admin users are allowed to upload supplemental files within an organization.
A login success message is displayed.
- The files are uploaded to TIBCO Cloud Integration and unzipped. A success message is displayed.
By using TIBCO Cloud Integration UI
- Go to the Environment and Tools page.
- In the
Connector Management & Extensions section, upload the
supplement_fhir.zipas a supplement. Select fhir.client under the BusinessWorks section.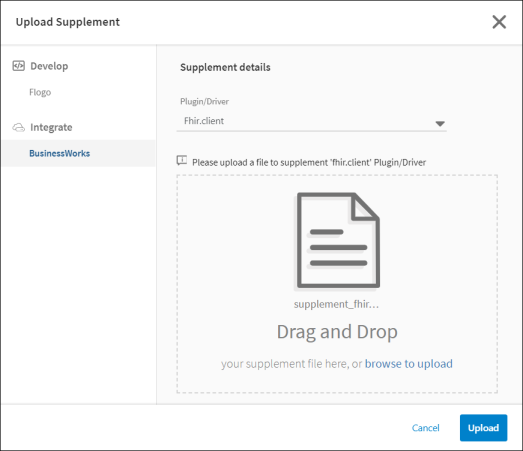
Using Supplemental Files for FHIR
Before attempting to access the new supplemental files on TIBCO Cloud Integration, re-deploy the application. See the "Pushing an Application to the Cloud" topic in the TIBCO Business Studio™ - Cloud Edition documentation.