Defining An Integration Flow
Use TIBCO Cloud™ Integration - Connect Integration Flow to create visual workflows by pulling the elements, or blocks, from the palette to the flow workspace. When you run an app with a flow, TIBCO Cloud™ Integration - Connect processes each record from the source entity through the flow you define, running each of the blocks in order.
When you open a flow the Connections panel and workspace display. The Connections panel contains all of the blocks required to easily create flows used to integrate your source data into one or more target datastores. To build your flow, move the blocks into the workspace.
Each time you save your flow a separate revision of the flow is stored. Before saving, enter a comment in the Comment field at the bottom of the workspace to associate a comment with the new revision. You can go back to a prior revision from the Revisions dialog. See Flow Revisions for additional information.
Accessing Integration Flows
- Select Apps from the menu to open the Apps list.
- Select an existing On schedule app to edit it or select the Create/Import button and choose On schedule to add a new app.
- At the top of the App Details page enter a name for the app.
- Select an agent from the agent drop-down.
- On the flows tab, open an existing flow to edit it or select New Flow.
- Select Integration Flow to display the flow designer.
Naming A Flow
When you first open a new flow it is given the default name, Flow, followed by a number, such as Flow 0 or Flow 1. Change this to a meaningful name and add a description in the Description field. Rename a flow at any time and save it under the new name.
Selecting Connections
Each Connection in a flow can be used for both Source and Target operations based on what the Connector and the associated datastore support. For example, if you have a Salesforce Connection and you use a Query block for that Connection in the flow, the Query is a Source operation, therefore, Salesforce is the Source for that block. If you use a Create block for the Salesforce Connection in the flow, Create is a Target operation, and Salesforce is the Target for that block.
Connections are sorted based on the order in which they were added to the flow. The color of the blocks associated with a Connection is determined by the order of the Connections. Control blocks are always light purple, the first Connection Blocks are always orange, and Blocks for the second Connection are yellow, and so on up to eleven Connections.
Multiple Targets
TIBCO Cloud™ Integration - Connect supports multiple target datastores in Integration flows. You can integrate data from one source into multiple targets. For example, while integrating your Microsoft Dynamics GP data into Salesforce, you can also send data from the same run to a CSV Text file for reporting purposes. Add Connections to a flow to connect to one or more target datastores.
Add Connections
The first step is to select or create Connections in the Connections panel on the left side of the flow. From the Connections panel, you can:
- Select Add Connection and select an existing Connection from the Connection dialog.
- Select Add Connection and select Add a Connection in the Connection dialog. See Adding a Connection.
- After selecting a Connection, you can use the Gear menu to do the following:
- Edit — Make changes to the selected Connection. See Editing Connections.
- Reassign Connections — Change a Connection within a flow without reconfiguring each block that calls that Connection.
- Reset Metadata — Update the metadata for this Connection.
See Resetting Metadata. Note: Metadata for Text Connections cannot be reset here. See Resetting Metadata for Text Connections.
- Metadata Status — View a list of the most recent set of metadata requests and the request status for this Connection. See Metadata Status.
- Remove — Delete the Connection. Connections can only be removed if they are not used in the flow.
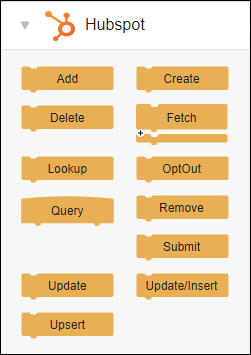
As soon as a valid Connection is selected, all of the Blocks supported by the Connection display in the Connection panel.
Starting A Flow
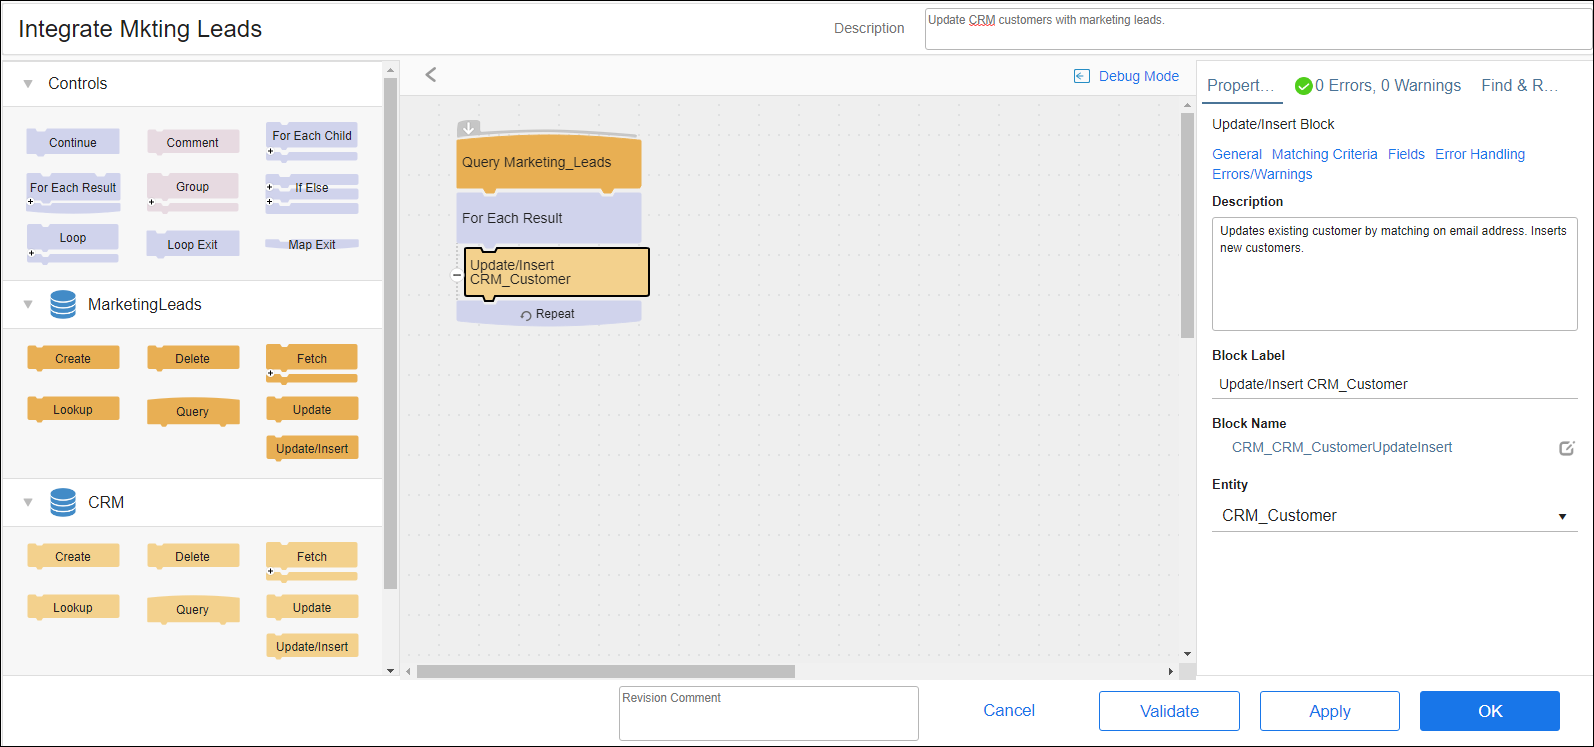
After you select your Connections, you can begin to create a flow. A flow is a visual representation of the instructions needed to integrate your data. For Integration Flows, the flow always starts with a query.
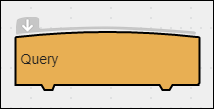
- From the Connections panel, select the Query Block associated with the Connection you want to use as a data source and drag it to the workspace.
- From the Control section, drag a For Each Result Block and attach it beneath the Query block.
Note: All flows require a Query block, a For Each Result block, and at least one Source or Target operation block.
If the For Each Result block remains transparent, it is not properly attached to the Query block and the flow does not run. Adjust the block until it is opaque and attached correctly to the previous block. - Select the Query block.
- Select the General link in the Properties panel to open the Query Block properties.
- Select a source entity.
- Add linked entities and filtering criteria for this flow. After defining the Query criteria, you can open the Block Properties Preview Tab to view the first 25 records in your source.

When the Query block is selected, the border changes color:
Building The Flow
- Once you have added the Query and For Each Result blocks, drag and drop the additional blocks you need from the Connections panel.
- As you add blocks to your flow, select each block to open the Properties panel on the right side of the workspace. Select the Block Properties General Tab for that block. The information available under Properties varies depending on the specific block selected.
Note: Mapping formulas in one block can access the values returned in preceding blocks.
- Select Apply to save the flow in its current state. You must save the flow before using Debug mode. See Debugging Flows.
- Continue to add blocks as needed. For information about how to use each type of block, see Working With Blocks.
Related Topics
Removing a Connection from a Flow
Defining An On Event Message Flow